
Makima Cosplay
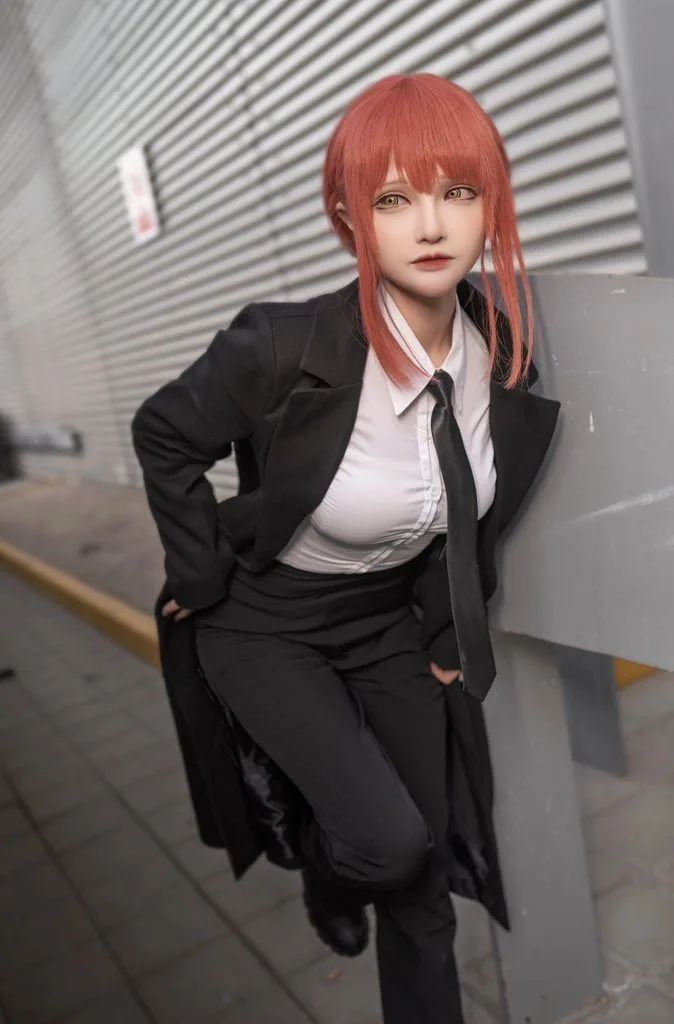
Chainsaw Man's most unsettling devil hunter, built from off-the-rack business formal and one killer wig. No sewing required. The whole look is a white dress shirt, black tie, slim pants, and a knee-length trench coat the kind of sharp office-wear that reads instantly as Makima on the con floor. The pink-red wig with straight bangs is the make-or-break detail, and the yellow ringed circle lenses seal the unnerving effect. 7 components, 9 materials, about 4 weeks, $80 to $220.
4 weeks
10
9
7
See the whole look before you start.
References, materials, budget, and build order for Makima.
Timeline
4 weeks
Color refs
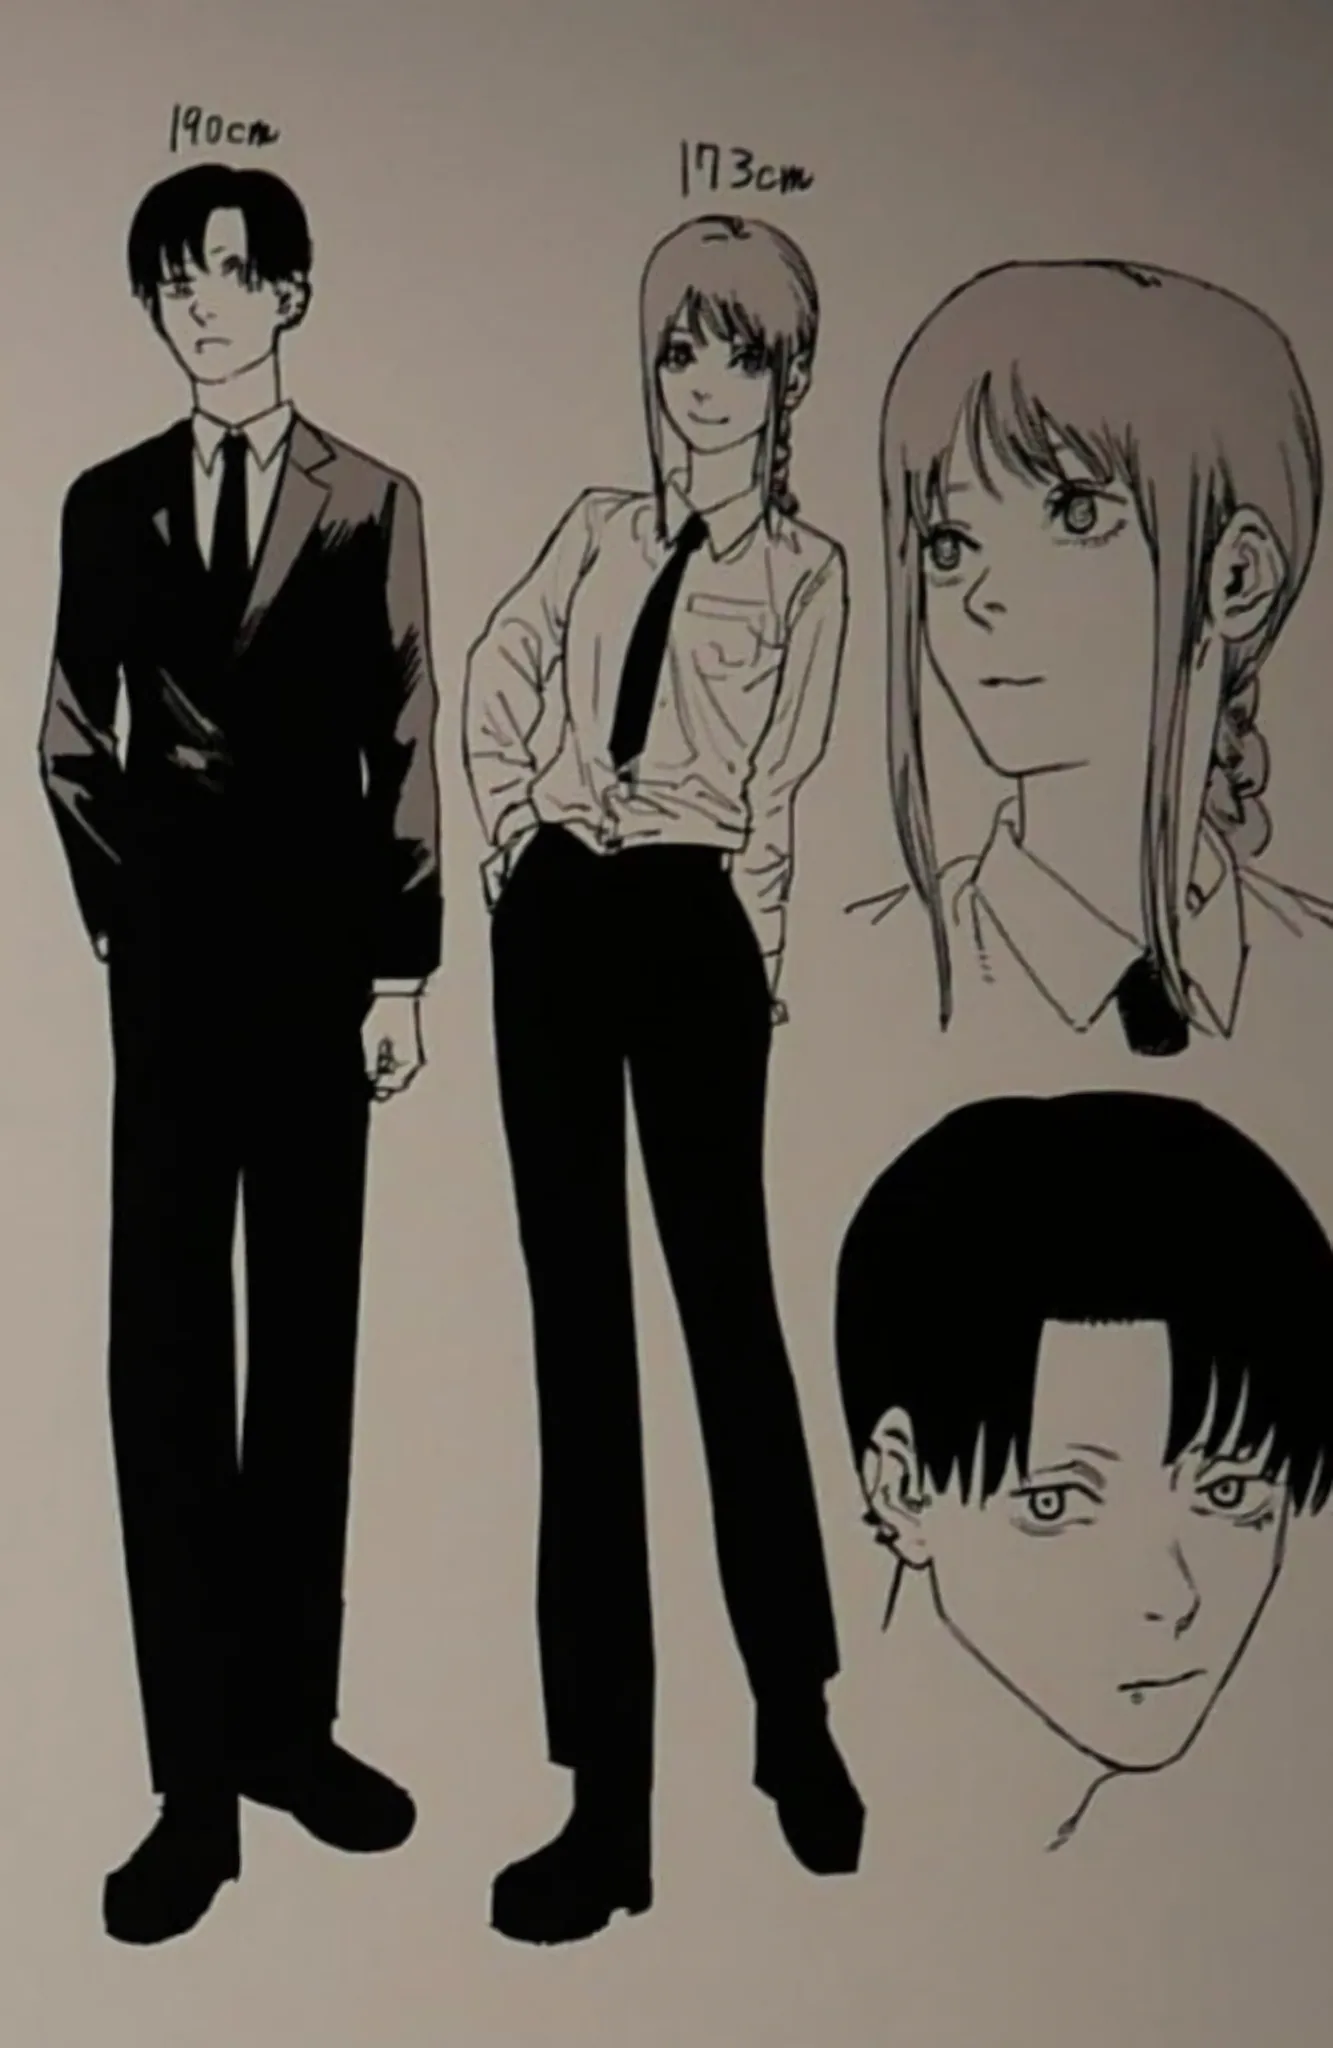
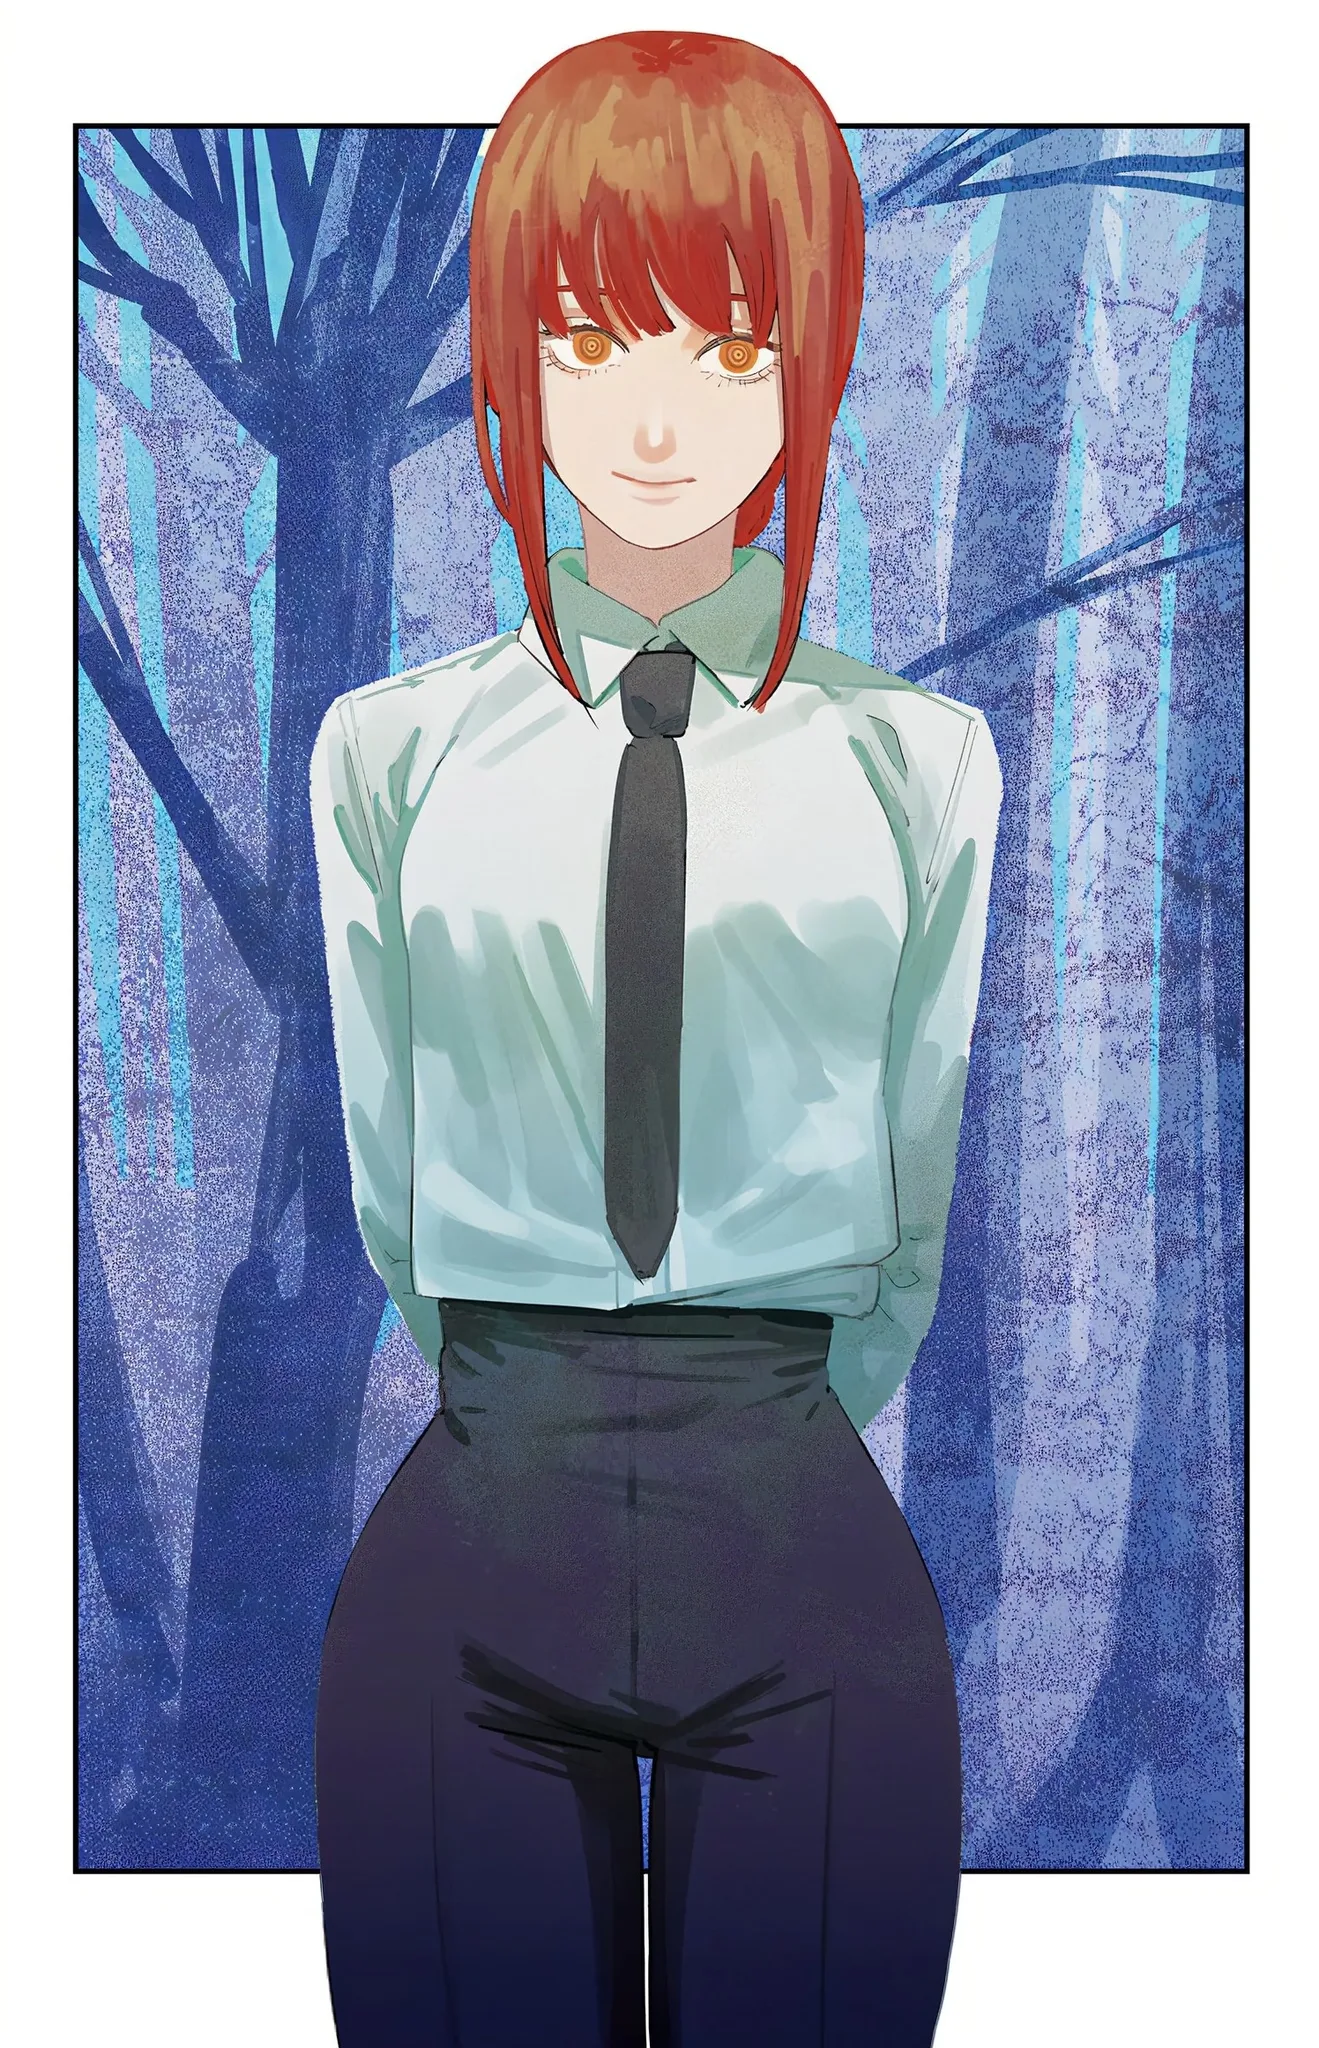
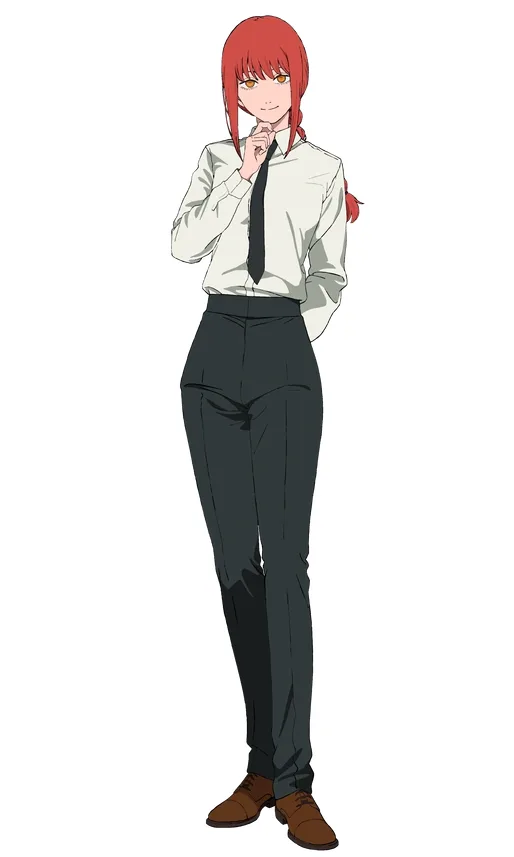
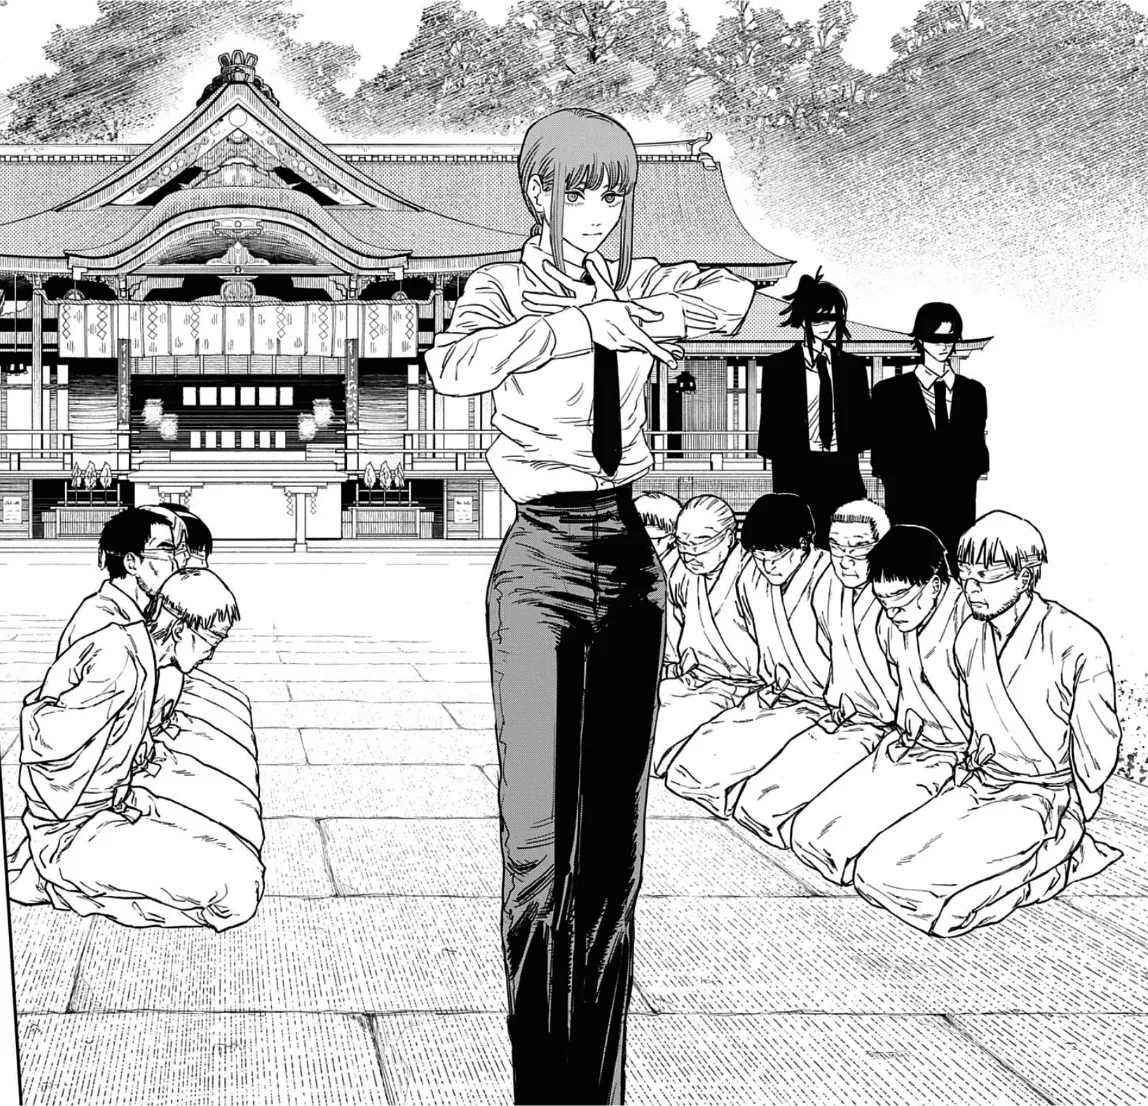
Materials
9 items
Budget
$80 - $220
save the visual refs
Full reference board
The preview above is curated for scanning. This is the working board you clone into your own build, with notes, colors, product images, and extra references intact.
Images are sourced from around the internet to help you get started. Use the web clipper to build your own reference library.
Reference images are gathered from around the web and belong to their original creators. We link back to where we found each one. If something here is yours and you want it taken down, email us and it is gone.
Build guide
I almost wore a disaster to my first con because I ordered a full Amazon costume set. Do not buy the costume set. I read the reviews after I had already ordered. The white button-up runs small, the fabric is so sheer you can see through it in photos, and the tie ripped the first time I sat down. One Amazon reviewer called it "very shiny and flimsy material" and that is honestly generous.
Buy every piece separately. A fitted white dress shirt from Uniqlo costs about $20 and fits properly. A black tie from a thrift store looks better and does not rip. Black slim-fit pants from Target run around $30. You probably already own black formal shoes, but if you do not, $35 gets you a pair. The trench coat is worth the money. Thrift stores in my area had black knee-length coats for $25 to $40, and they drape better than any costume version. Skip wool, it is too heavy for convention halls. A polyester blend breathes well enough. For summer cons, wear the coat open, carry a handheld spritzer fan, and use a cooling towel on the back of your neck under the wig. I learned this the hard way at Anime Weekend Atlanta in August. I was sweating through my shirt by 11 AM.
The wig is the make-or-break detail. A long straight pink-red wig costs about $30 on Amazon or from EpicCosplay, but the factory braid is unreliable. The rubber band does not hold, and the braid slips out during wear. Two of my friends have had it come completely undone on the con floor. Undo the factory braid and re-braid it yourself with small clear hair ties at three or four points along the length. Use magnet clips inside the wig cap to secure the braid weight. The bangs are never right out of the box either. Mine were swooped to one side like a bad 90s haircut. Trim them conservatively, check in a mirror, then trim more. Use a wide-tooth comb only, never a fine brush on synthetic fibers. Bring the comb to the convention because the braid tangles within two hours. Argan oil or diluted fabric softener on the fibers helps with tangling, but nothing replaces carrying a comb on the floor.
The circle lenses are where Makima becomes recognizable. Her yellow-ringed eyes are the defining feature. But the reduced pupil opening actually obstructs your vision. Uniqso and SweetyCon have explicit warnings on their product pages: "Reduced pupil area may obstruct your vision. You need mobility assistance to use this product." I use Sweety Crazy Yellow Rings V3, which have a larger clear center than some alternatives, but I still cannot drive in them. You need a friend for crowded hallways. Practice wearing them for a few short sessions before the convention. Always bring backup glasses and contact solution in your bag. If you have sensitive eyes or never wear contacts, skip the lenses. You will still read as Makima from across the hall with the trench coat, red hair, and tie.
Budget $80 to $220 and block out 4 weeks. Most of your time goes to sourcing pieces and waiting for shipping, not building. Try on everything together before the convention. Sit in it. Bend over in it. Make sure the shirt does not gap, the coat lets you move, and the lenses are comfortable. Makima is the ideal beginner cosplay, but easy does not mean you skip the preparation.
Components
Pink-red long straight wig with bangs
White button-up dress shirt
Black necktie
Black slim-fit formal pants
Black knee-length trench coat
Black formal shoes or boots
Yellow/gold circle contact lenses
Materials list
9 itemsEstimated total cost
$80 - $220
Milestone timeline
4 weeks- 1
Gather Makima reference images and study the look
Research
- 2
Source and purchase the pink-red wig
Materials
- 3
Buy white dress shirt and black tie
Materials
- 4
Find black slim pants and trench coat
Materials
- 5
Buy circle lenses and black shoes
Materials
- 6
Try on all clothing and check fit
Fitting
- 7
Hem pants and adjust coat length if needed
Fitting
- 8
Style and thin the wig if needed
Finishing
- 9
Try circle lenses before the con
Finishing
- 10
Full suit-up, walk test, and photos
Wear test
Frequently
asked questions.
Related tools and guides
Plan your build, estimate costs, and get ready.
Budget Calculator
Estimate your build cost before you start buying materials.
Convention Checklist
88-item packing checklist. Check off items as you pack.
Prop Scaling Calculator
Scale reference images to your body measurements.
How Much Does EVA Foam Armor Cost?
Real build budgets with specific products and dollar amounts.
Cosplay Commission Cost Breakdown
Real build budgets with specific products and dollar amounts.
Cosplay on Costumary
Templates, tools, and workspace built for cosplay makers.
Browse all templates
Explore build plans across 10 craft verticals.
Debut your cosplay build
Upcoming conventions where you could wear this. Dates, checklists, and budget tools included.
Start this build free
Clone this template into your workspace. Track materials, milestones, budget, and build progress in one place.
More from this series
Denji Cosplay
10 weeks · 15 milestones
Chainsaw Man's protagonist in his iconic hybrid form: the human body with a chainsaw head and transformable chainsaw arms. The hand-carved foam helmet with chain-link detailing is the make-or-break piece, demanding precision foam work and 8-12 weeks of dedicated building. A full build includes the school uniform base, prosthetic teeth, spiky hair, and the chainsaw arms or helmet. 6 components, 14 materials, ~10 weeks, $200-500.
Denji Pochita Hybrid Cosplay
12 weeks · 20 milestones
Denji's Pochita hybrid transformation: the chainsaw helmet, dual wrist blade arms, and blood-soaked Public Safety uniform. This is a full prop-and-armor build, not a fabric cosplay. The helmet is the centerpiece and the hardest piece: blade balance, internal sightlines, and weight all need solving before you build anything else. 6 components, 15 materials, ~12 weeks, $180-420.
Reze Cosplay
7 weeks · 13 milestones
Chainsaw Man's Bomb Devil in two forms: the human school uniform and the full hybrid transformation. The uniform is a tailored dark blazer, pleated gray skirt, and white blouse with red tie. The Bomb Devil form adds a sculpted metal mask and dynamite waist panel. The harness system with chains, ammo pouches, and the amber-red wig with soft waves are the make-or-break details. 8 components, 15 materials, 13-step build plan, ~7 weeks, $100 to $300.
Power Cosplay
3 weeks · 11 milestones
Power is Chainsaw Man's Blood Fiend: golden-blonde hair, sharp red horns, and a Public Safety suit she never quite manages to wear correctly. The read comes from three details done right: the dirty-blonde wig with dense bangs, the curved red horns attached so they don't tip over by noon, and yellow target-pattern circle lenses that make strangers do a double-take. Every other piece is thrifted business casual. 6 components, 10 materials, about 3 weeks, $75 to $185.
Qifrey Cosplay
5 weeks · 12 milestones
Qifrey's elegant white-robed silhouette is built around three signature elements: the tall pointed hat with the bent tip and black ribbon, the flowing white cape with the brass brooch closure, and the asymmetrical pince-nez glasses with one dark lens hiding his scarred eye. This is an intermediate build that needs more structural crafting than sewing. The hat and glasses demand the most attention, while the cape is a manageable garment project. The glasses and the hat are the make-or-break details, and this template walks you through both. Includes 7 components, 15 materials with cost estimates, a 12-step build plan, and a realistic 5-week, $95 to $280 budget.
Coco Cosplay
6 weeks · 12 milestones
Witch Hat Atelier's apprentice witch in her full outfit: the tall pointed hat with ornamental band, a dark cloak with decorative hem trim, a layered tunic-dress, boots, and her drawing implements. The hat is the signature piece and the hardest to get right. 7 components, 13 materials, ~6 weeks at $120-280.
Sung Jinwoo Cosplay
7 weeks · 15 milestones
Solo Leveling's Shadow Monarch in his iconic default hunter outfit: a long black coat with purple inner lining, structured shoulder armor, fitted pants, and dual daggers. This is an intermediate hybrid build that combines garment sewing with foam armor crafting for the shoulder details, plus prop work for the daggers. The coat and its glowing purple lining are the make-or-break detail. Includes 7 components, 19 materials with cost estimates, a 15-step build plan, and a realistic 5-7 week, $120 to $320 budget.
Gojo Satoru Cosplay
5 weeks · 11 milestones
Jujutsu Kaisen's strongest sorcerer, built around three signature details: the black high-collar uniform jacket, the blindfold, and the white spiked hair. This is an intermediate build that leans on one well-made garment plus wig styling, so it reads instantly on the con floor without months of work. The collar and the wig are the make-or-break details, and this template walks you through both. Includes 6 components, 11 materials with cost estimates, an 11-step build plan, and a realistic 5-week, $90 to $240 budget.