
Naruto Uzumaki Cosplay
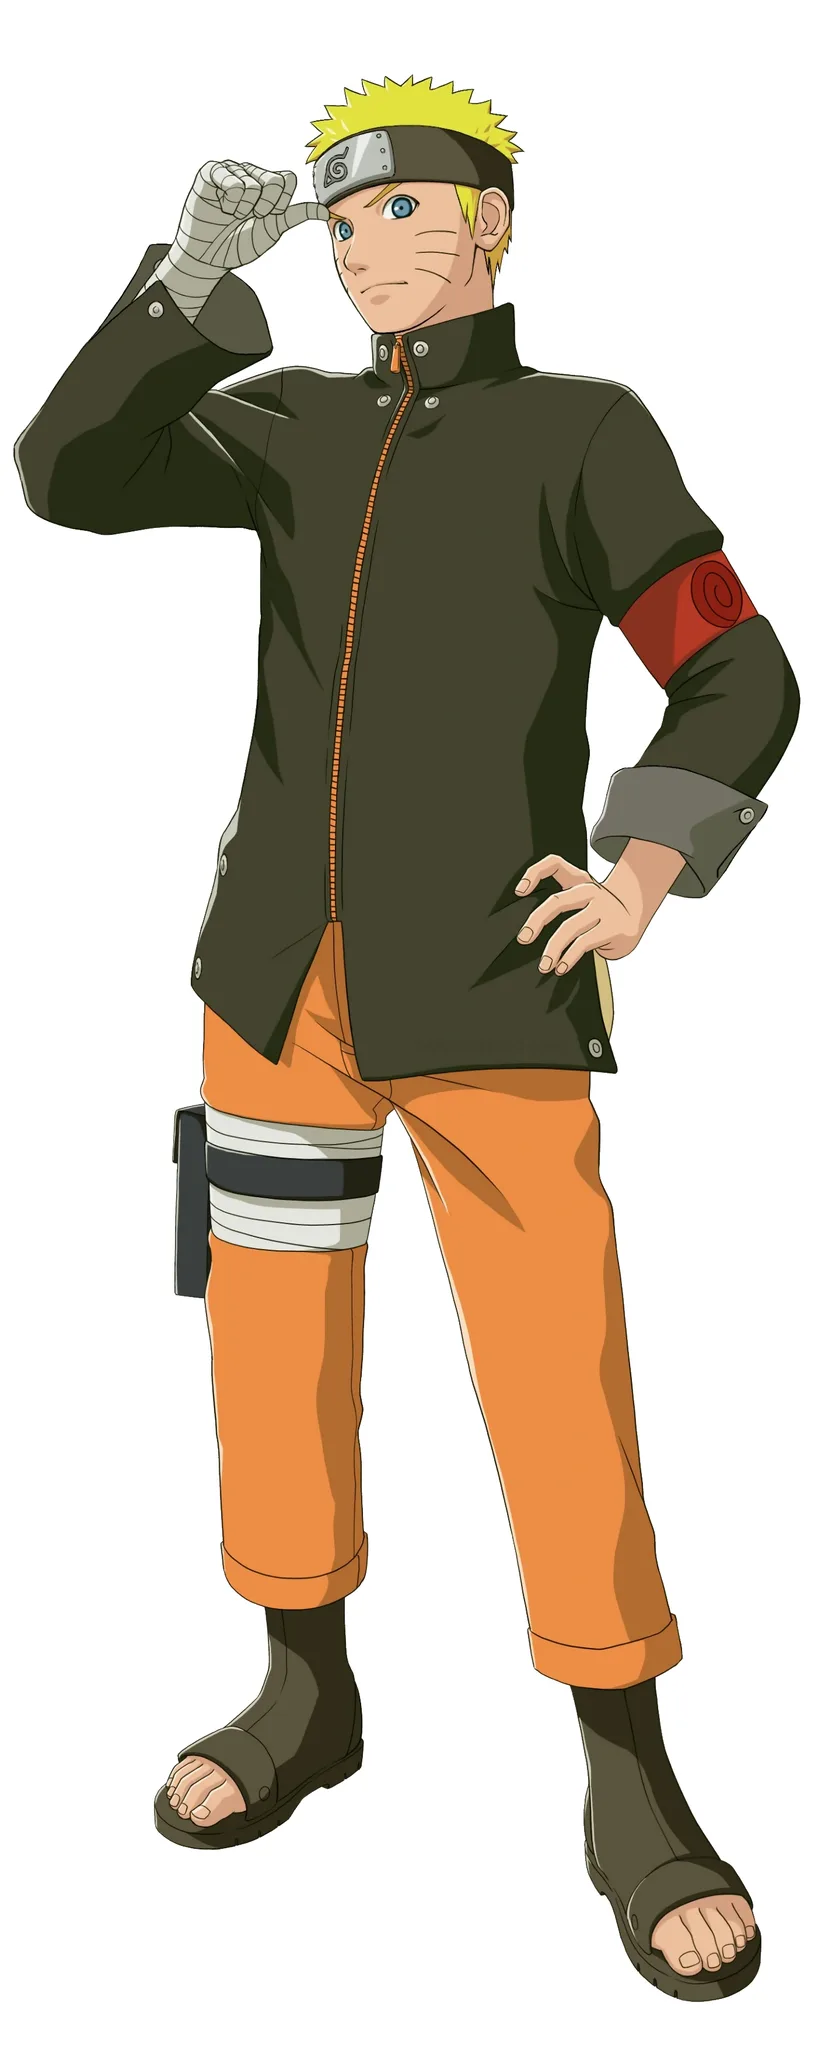
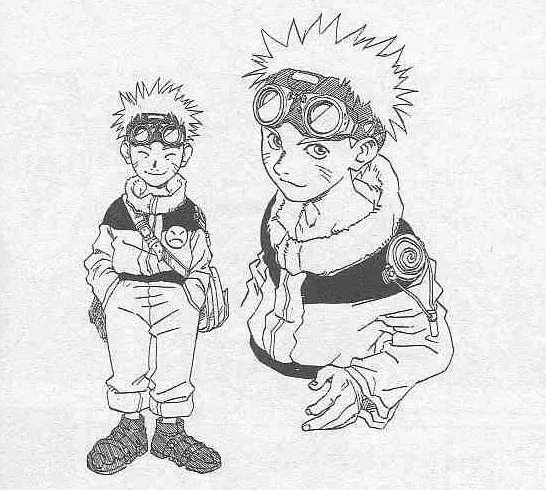
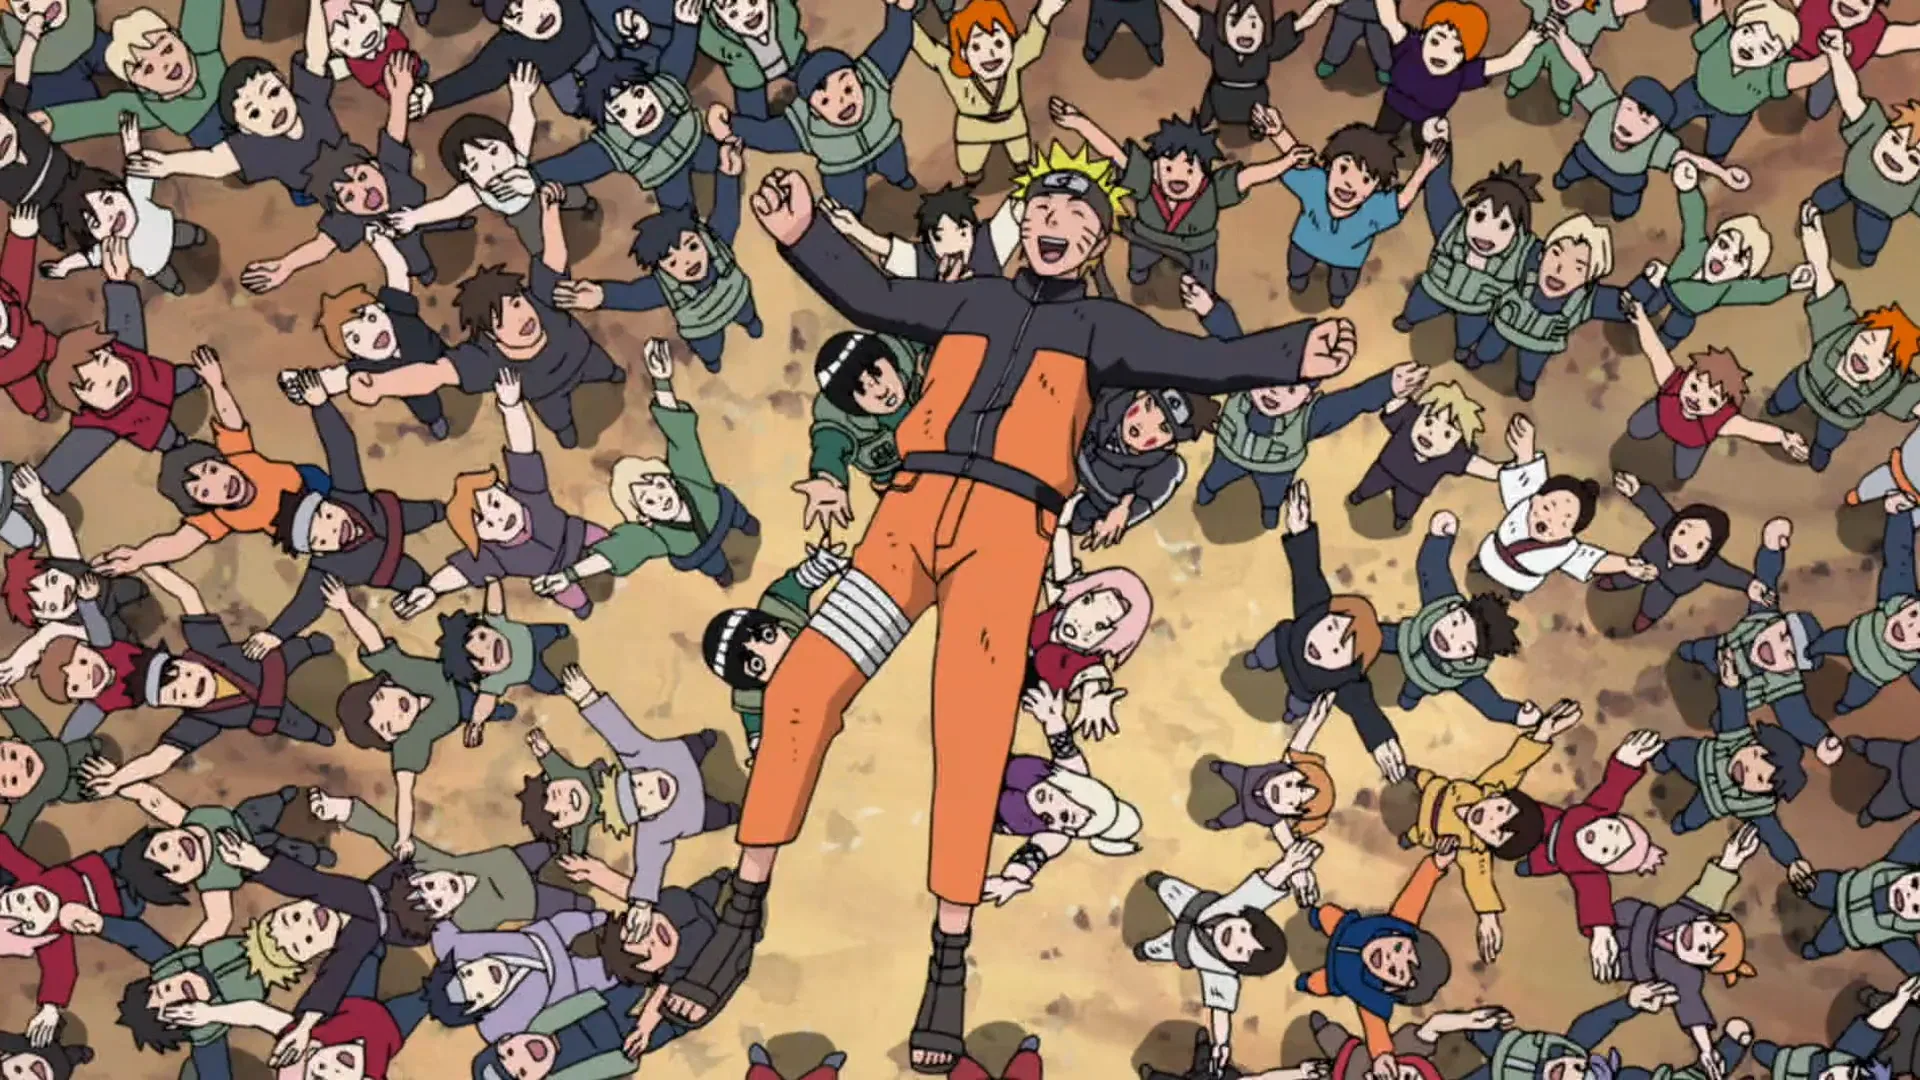
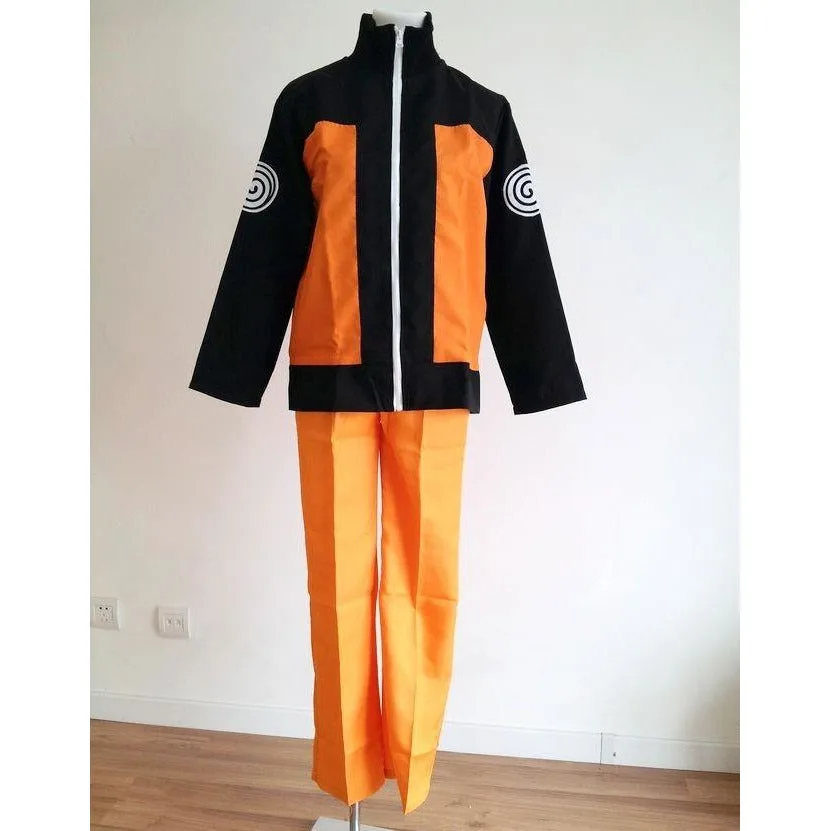
The most recognized ninja in anime: Naruto's orange zip-up jacket with white trim, blue sandals, Leaf Village headband, and spiky blonde hair. A beginner-friendly build with one statement jacket, a styled wig, and a few accessories that read instantly on the con floor. Includes 5 components, 12 materials with cost estimates, 11 milestones, and a realistic 4-week, $80 to $200 budget.
4 weeks
11
13
5
See the whole look before you start.
References, materials, budget, and build order for Naruto Uzumaki.
Timeline
4 weeks
Color refs


Materials
13 items
Budget
$80 - $200
save the visual refs
Full reference board
The preview above is curated for scanning. This is the working board you clone into your own build, with notes, colors, product images, and extra references intact.
Images are sourced from around the internet to help you get started. Use the web clipper to build your own reference library.
Reference images are gathered from around the web and belong to their original creators. We link back to where we found each one. If something here is yours and you want it taken down, email us and it is gone.
Build guide
Naruto's look is one of the most recognized costumes in anime, and it is also one of the most beginner-friendly builds you can pick. The whole thing is one orange jacket, a styled wig, a headband, and three lines of makeup on each cheek.
You can buy a pre-made jacket online for about $40, but it will fit like a Halloween costume. Sewing your own in orange cotton twill costs about the same and looks worlds better. A basic bomber or zip hoodie pattern gets you the right shape, and the white collar trim is just a topstitched strip of cotton. No complex drafting, no lining, just a clean zip-up jacket with a little structure. The shoulder accents are blue fabric panels set into the sleeve seam, or fabric paint if you are keeping it simple.
Buy the blonde wig early and confirm it actually spikes before you commit. White wigs spike easily but blonde ones vary a lot by brand. Once the wig is sorted, the jacket becomes the main project. Mock up the white collar trim in scrap fabric before you touch your good orange yardage. The collar is what reads Naruto from across the hall, so take your time getting the width and stitch line right. Reinforce the zipper area with lightweight interfacing because it takes stress every time you suit up.
Wig styling is where beginners usually stall, and it is actually simpler than it looks. Naruto's spikes are thick and chunky, not thin anime needles. Section the top into five or six spikes, coat each with Got2b Glued, shape them upright, and let it set overnight on a wig stand. Do not overwork it. If you thin the wig too much or spike it in tiny pieces, it goes crunchy and flat. Build the spikes up gradually and they will hold through a full con day.
For the makeup, skip the temporary tattoos. They fade unevenly and look smudged by lunch. A fine-tip black eyeliner pen takes 30 seconds per side and stays sharp with a quick hit of setting spray. Three short horizontal lines on each cheek, half an inch below the eye, extending outward about an inch. Practice it twice and you will nail it.
Budget runs about $80 to $200 depending on whether you sew or buy the jacket. The wig is about $30, the headband is $15, and the sandals are $25. That leaves about $40 for fabric if you are sewing your own. Give yourself four weeks: one for research and ordering, two for the jacket, and one for wig styling and finishing.
Components
Orange zip-up jacket with white trim
Blue ninja sandals
Leaf Village headband
Spiky blonde wig
Whisker marks makeup
Materials list
13 itemsEstimated total cost
$80 - $200
Milestone timeline
4 weeks- 1
Gather references and pick your Naruto version (Part 1 or Shippuden)
Research
- 2
Buy and test the wig, confirm it spikes
Materials
- 3
Source the jacket pattern and orange fabric
Materials
- 4
Cut the jacket pieces and mock up the white trim
Patterning
- 5
Sew the jacket body and set the zipper
Construction
- 6
Attach the white collar and hem trim
Construction
- 7
Style and spike the wig
Finishing
- 8
Make or modify the Leaf Village headband
Finishing
- 9
Source or make the blue ninja sandals
Materials
- 10
Practice and test the whisker marks
Finishing
- 11
Full suit-up, photos, and walking test with the sandals
Wear test
Frequently
asked questions.
Related tools and guides
Plan your build, estimate costs, and get ready.
Budget Calculator
Estimate your build cost before you start buying materials.
Convention Checklist
88-item packing checklist. Check off items as you pack.
Prop Scaling Calculator
Scale reference images to your body measurements.
How Much Does EVA Foam Armor Cost?
Real build budgets with specific products and dollar amounts.
Cosplay Commission Cost Breakdown
Real build budgets with specific products and dollar amounts.
Cosplay on Costumary
Templates, tools, and workspace built for cosplay makers.
Browse all templates
Explore build plans across 10 craft verticals.
Debut your cosplay build
Upcoming conventions where you could wear this. Dates, checklists, and budget tools included.
Start this build free
Clone this template into your workspace. Track materials, milestones, budget, and build progress in one place.
More from this series
Hinata Hyuga Cosplay
4 weeks · 13 milestones
Hinata's Shippuden look is the most-cosplayed female Naruto design for good reason: it's elegant without being complex. The build centers on a lavender-and-cream hoodie jacket, a dark indigo hime-cut bob wig, and the ninja accessories that make the silhouette read instantly. Get the jacket color warm (not cool purple) and wear the headband at the neck, not the forehead. 5 components, 12 materials, ~4 weeks, $70-180.
Qifrey Cosplay
5 weeks · 12 milestones
Qifrey's elegant white-robed silhouette is built around three signature elements: the tall pointed hat with the bent tip and black ribbon, the flowing white cape with the brass brooch closure, and the asymmetrical pince-nez glasses with one dark lens hiding his scarred eye. This is an intermediate build that needs more structural crafting than sewing. The hat and glasses demand the most attention, while the cape is a manageable garment project. The glasses and the hat are the make-or-break details, and this template walks you through both. Includes 7 components, 15 materials with cost estimates, a 12-step build plan, and a realistic 5-week, $95 to $280 budget.
Coco Cosplay
6 weeks · 12 milestones
Witch Hat Atelier's apprentice witch in her full outfit: the tall pointed hat with ornamental band, a dark cloak with decorative hem trim, a layered tunic-dress, boots, and her drawing implements. The hat is the signature piece and the hardest to get right. 7 components, 13 materials, ~6 weeks at $120-280.
Sung Jinwoo Cosplay
7 weeks · 15 milestones
Solo Leveling's Shadow Monarch in his iconic default hunter outfit: a long black coat with purple inner lining, structured shoulder armor, fitted pants, and dual daggers. This is an intermediate hybrid build that combines garment sewing with foam armor crafting for the shoulder details, plus prop work for the daggers. The coat and its glowing purple lining are the make-or-break detail. Includes 7 components, 19 materials with cost estimates, a 15-step build plan, and a realistic 5-7 week, $120 to $320 budget.
Gojo Satoru Cosplay
5 weeks · 11 milestones
Jujutsu Kaisen's strongest sorcerer, built around three signature details: the black high-collar uniform jacket, the blindfold, and the white spiked hair. This is an intermediate build that leans on one well-made garment plus wig styling, so it reads instantly on the con floor without months of work. The collar and the wig are the make-or-break details, and this template walks you through both. Includes 6 components, 11 materials with cost estimates, an 11-step build plan, and a realistic 5-week, $90 to $240 budget.
Deadpool Suit Cosplay
5 weeks · 12 milestones
The Merc with a Mouth in full red and black: a head-to-toe spandex bodysuit with diamond-textured fabric, a face shell mask with white magnetic lenses, dual katanas on a concealed back harness, and a utility belt with pouches and holsters. An intermediate build that rewards patience with fit and details. Covers 7 components, 12 materials with cost estimates, a 12-step build plan across 5 phases, and a 5-week timeline at $120 to $350.
Yuta Okkotsu Cosplay
6 weeks · 12 milestones
Jujutsu Kaisen 0's tragic sorcerer bound to Rika's curse: the black school uniform, textured black wig, cursed arm markings, and luminous katana. A balanced build across uniform tailoring, prop construction, and wig styling. 4 components, 11 materials, ~6 weeks, $120-280.
Captain America Cosplay
6 weeks · 12 milestones
The star-spangled Avenger in his Endgame suit: scaled chest armor over a tactical blue base, a white star emblem, red gauntlets and boot details, a foam cowl helmet with ear wings, and the iconic round shield. This is an intermediate build with repetitive detail work on the scales and some prop-making for the shield. Covers 7 components, 12 materials with cost estimates, a 12-step plan across 5 phases, and a realistic 6-week, $150 to $400 budget.